When it comes to debug a web site, no matter what the reason could be (e.g. hacked web site or just to check what changes have been done), another useful command offered by the *nix is the Diff command.
The diff command is typically used to show the changes between one file and its former version. I don’t want to enter into details explaining every sort of option this command line tool offers, rather be extremely practical and help you to get the most from your comparison process and make it useful for your SEO analysis.
Let’s crack on.
There a couple of prerequisite for you to move on:
Having the files to compare locally saved somewhere. It doesn’t matter where, because as per any tool you will be able to specify the path at a later stage. Of course the shorter the better, simply because it will save you minutes in typing (unless you don’t use some advanced shell like ZSH with the path autocompletion enables).
You need to be command-line oriented even when it comes to reading the results.
The Horizontal Diff Layout
Open your OS X Lion terminal, and type in something like this:
#!/bin/bash
diff -i -y -I RE oldversion.html currentversion.html 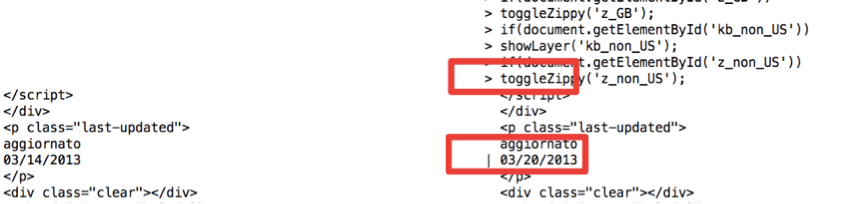 Let’s analyze the parameters:
-i stand for “ignore case” so something like “I did a change” and “I DID A CHANGE” would be the same. It’s up to you deciding whether to use it or not. Normally when comparing html files it’s not quite worth enabling it.
-y enables the “Side by Side” view, so instead of getting the original content first and then the change beforehand, your screen output will result in two column with the original content on the left side and the new content on the right, with a > indicating the additions if any.
Finally the –I RE that stand for “ignoring matching lines”, in other words the output won’t show anything that is the same in both the files. A good way to keep the output shorter, especially when the files are quite bulky.
The Vertical Layout (aka the Context Format)
The horizontal layout may be not the one you prefer, or it could be the case you to require also the line number. So another quick alternative it may be using the following combination:
#!/bin/bash
diff -i -c cached.txt.html current.txt.html
The context format of diff has been introduced to help while distributing patches for source code that may have been changed minimally.
In the context format, any changed lines are shown alongside unchanged lines before and after.
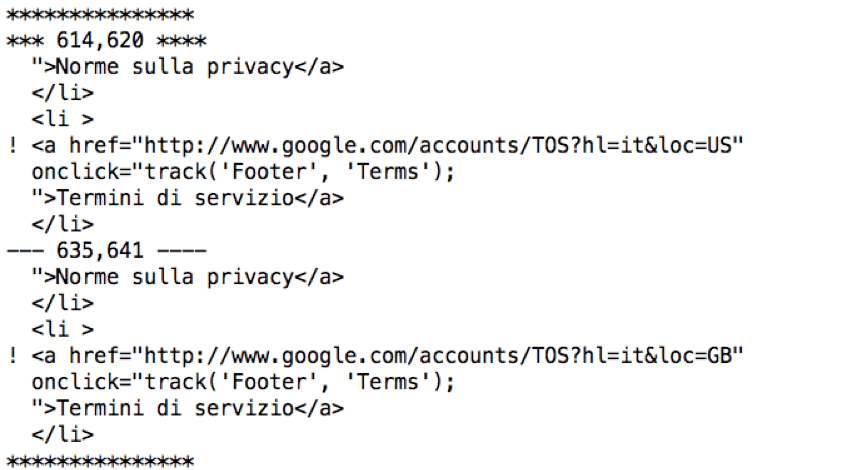 While using the context format, changes are identified differently. A ! (exclamation mark) stands for a change, a + (plus sign) for an addition whereas the – (minus sign) for something that has been removed.
If you are interested in the full manual, for the sake of simplicity have a look at this online version. Please, bear in mind that different version of the same *nix based operative system may have different parament. Hence always refer to the command line version of your help that you can access by typing:
#!/bin/bash
diff --help
I hope you have enjoyed this little overview in the diff command. As usual if you have any questions or comments, feel free to leave them below.